We are making progress! With any luck, we should have the last 2 raised beds built and everything ready for soil by next Tuesday. Last Friday we built a raised bed out of landscape timbers and placed two beds made of red cedar. One of the Master Gardeners had pre-built them in his garage.
This week, the Master Gardeners came back and built the treated lumber raised bed. That means all we have left is the grape bed and the recycled plastic lumber/decking lumber raised bed to complete.
Today, the drainage & irrigation contractor is back to finish their part of the job, which includes digging drainage holes at regular spaces in the beds and filling them with gravel, then covering them with filter fabric. They will also get the ball valves for our drip lines installed.
 The landscape timber bed was a little bit of a challenge, because the timbers are cheap, and can sometimes be a little bit warped. So we had that to deal with, in addition to the usual project of keeping the beds level.
 It got easier once more of the timbers were in place. We are using long screws to hold the entire thing together.
 Here’s a look at the finished bed. We’ll have to go back and do a bit more leveling in the middle once we have the soil to fill the beds.
 With that bed done we got the two smaller cedar beds in place. We still have to get the decorative corner braces in place, but they are still being painted.
 Yesterday (Wednesday) the Master Gardeners got the treated lumber bed built. Same routine as before…level the dirt, get the initial boards in place, level some more, and finish!
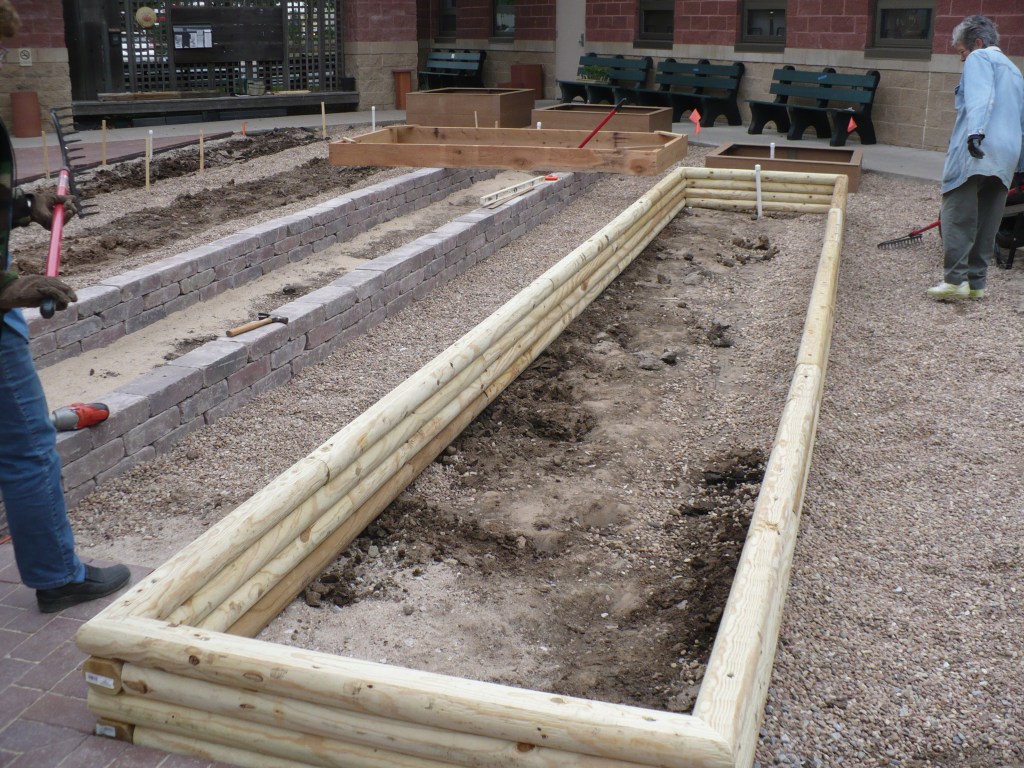
 Here you can see the finished treated lumber bed. It is a little hard to see, but we decided to make the end of the bed angled to follow the pavers rather than straight. I’m still not sure quite what I think of that, but I’m sure it will be fine. Each of those yellow flags is going to be one of the drainage holes in the bottom of the beds.
 Here you can see the two drainage holes dug in one of the smaller, red cedar beds. Just to be clear…this is not something that the average person would have to do when building a raised bed. We are putting the additional drainage in the bottom of the beds because we are on a compacted clay construction pad. The drain holes are supposed to be dug through to the sandier, natural soil underneath the compacted clay, just to make sure we’ve got sufficient drainage. With all this drainage, I hope we’ll be able to keep the beds well watered!
I’ll show a few more pictures of the finished drains tomorrow or Monday.

Leave a comment